Infographics are a popular way to visually communicate complex data, statistics, and ideas. They are used in marketing, education, and other fields to quickly convey information to an audience. While there are many online tools and software programs that can be used to create infographics, PowerPoint is a commonly used tool for creating these visuals. In this article, we will discuss how to create an infographic in PowerPoint.
-
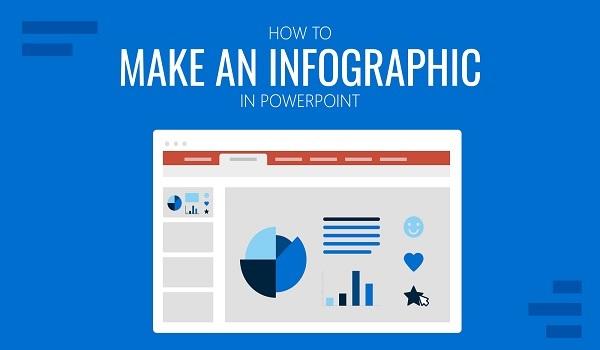
Choose a Template for create infographics
PowerPoint offers a variety of built-in templates that can be used to create infographics. To access these templates, click on the “File” tab, then select “New.” From there, you can search for “infographics” in the search bar, and PowerPoint will show you a variety of templates to choose from.
-
Select and Modify Graphics
Once you have chosen a template, you can begin modifying it to suit your needs. PowerPoint has a variety of graphics that you can use, including shapes, icons, and illustrations. To add a graphic, click on the “Insert” tab, then select the type of graphic you want to add. You can also search for specific graphics by typing keywords in the search bar.
Once you have added a graphic, you can modify it by changing its size, color, and other properties. To do this, select the graphic, then click on the “Format” tab. From there, you can make changes to the graphic using the various tools available.
-
Infographics Add Text
Infographics often include text to explain or provide context for the data being presented. To add text to your infographic, click on the “Insert” tab, then select “Text Box.” Click and drag to create a text box on your slide, then type your text.
You can modify the font, size, color, and other properties of your text by selecting it and clicking on the “Format” tab.
-
Organize Your Content
Once you have added all of the graphics and text you need, it’s time to organize your content. Infographics should be easy to read and understand, so it’s important to arrange your content in a logical and visually appealing way.
You can use PowerPoint’s alignment and distribution tools to help you arrange your content. These tools allow you to align objects with each other or with the slide itself, and to distribute objects evenly.
-
Add Visual Interest
To make your infographic more visually interesting, consider adding some design elements. This can include background colors or patterns, gradients, or other effects. You can also experiment with different font styles, sizes, and colors to create contrast and visual interest.
-
Save and Export Your Infographic
Once you have finished creating your infographic, it’s time to save and export it. To save your work, click on the “File” tab, then select “Save As.” Choose a location to save your file and give it a name.
To export your infographic as an image, click on the “File” tab, then select “Export.” From there, you can choose the format you want to export your infographic as, such as a PNG or JPEG file.
Conclusion
PowerPoint is a powerful tool for creating infographics. By following these steps, you can create a visually appealing and informative infographic to share with your audience. Remember to choose a template, select and modify graphics, add text, organize your content, add visual interest, and save and export your infographic. With some practice and experimentation, you can create stunning infographics that effectively communicate your message.